Habitat Gardening

SolarPunk

This time: Plant your seedlings; Improve preparations for extreme climate conditions


Your seedlings are ready; the soil is prepared and now comes the rewarding part: planting. Whether you’ve grown native plants from seed, picked up healthy starts from a nursery, or are ready with direct-sow seeds, this is the big moment!

Take a moment to make sure you get everything right.

🌿 Consider spacing. Before you begin, take a little time to review the spacing guidance for each species you’re planting. Different natives have different preferences for spacing. Following those recommendations will give your plants the best chance to establish quickly and reduce problems later.

If you're planting multiple species in the same bed, and they all have different spacing requirements, it can get a bit complicated. I have a small metal tape measure that I have used for these situations. The good news is that you really just have to do this once per bed. You are planting perennials after all.

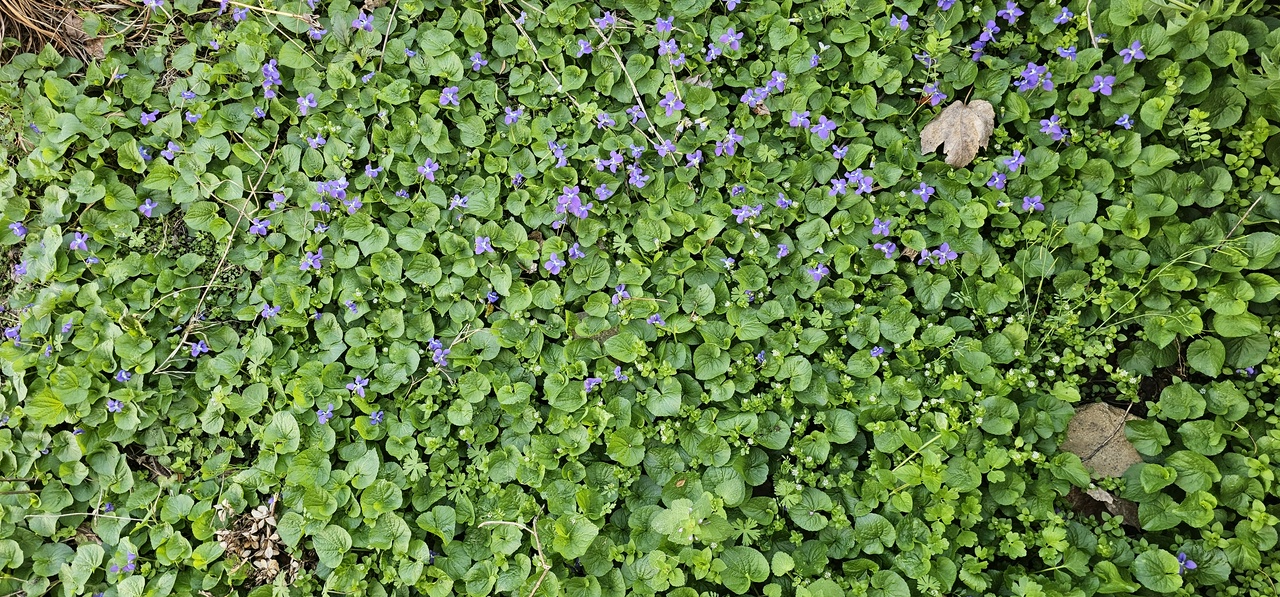
🌻 Follow your garden design for placement.  Ideally, you’ve already roughed out a basic design while planning your plant purchases (previously covered here). That doesn’t mean every plant has to go in an exact spot, but having a general layout makes planting days smoother. Just like traditional gardening, native plant gardens can be formal, informal, or somewhere in between.

Set out your seedlings, starts, and seeds so that you can assess where each will go. Some seeds that you started before planting season may not have germinated. (It happens!) Check to see how this effects where you place what items.

I live in Suburbia, so I have this length of space on the far side of the driveway that is perfect for a mini-prairie design. It also holds any extra plants or seeds I end up not finding a place for.

🌱 Consider the seeds. Don't forget your direct-sow seeds! They may have been forgotten in all the effort to grow seedlings in the off-season. For designed beds, leave a space for seeds where their height will fit. Again, follow directions for spacing and consider nearby plants.

🚿 Follow traditional gardening best practices in early days. Once planted, keep the soil consistently moist for the first few weeks. That steady moisture helps young roots expand into the surrounding soil and settle in. This is no different than traditional gardening.

There are many more tips in the Resources section below.

Here is a portion of my yellow/purple native plant bed, showing a shrub in the background, American Beautyberry, which has bright purple berries along its branches. In the foreground, Anise Hyssop, coordinates with purple spikes of flowers. Both of these had survived two periods of four weeks in summer heat with no rain. This is becoming more common here. The shrub suffered – you can see leaves are sparse – but survive it did. I did not water so that I could see how resilient these native plants can be. (That’s why I’m not embarrassed to show this pic.) The non-natives in my garden needed water constantly.


Seasonal Continuous Improvement: Late Spring / Early Summer

Think about last year. How did your native plants garden handle dry spells? Or extreme heat? Or higher than expected rainfall? Or whatever significant problems you experience in your area at some point in the growing season? Think about improvements that will help your plants thrive. Some examples:

  • Improve physical water retention methods. I started shaping certain beds in curves to hold water from hard rains where too much would run off.
  • Extend garden beds away from growing shrubs and trees. It’s very common to place plants too close to shrubs. After a couple of years, everyone is fighting over space, water, and nutrients.
  • Too much water always collecting in an area, drowning your natives? Change out plants to favor those that like it wet and make a rain garden!
  • Manage mini-prairie flowers seeding into your adjacent lawn by expanding the bed! The lawn is less important! Of course, if this is going to get you in trouble with neighbors or the HOA, be careful.

Start planning in early summer to complete urgent improvements. This gives you time to perfect designs, gather materials, and be ready for the best time to complete them.

Here are a couple of tips that are generally useful.

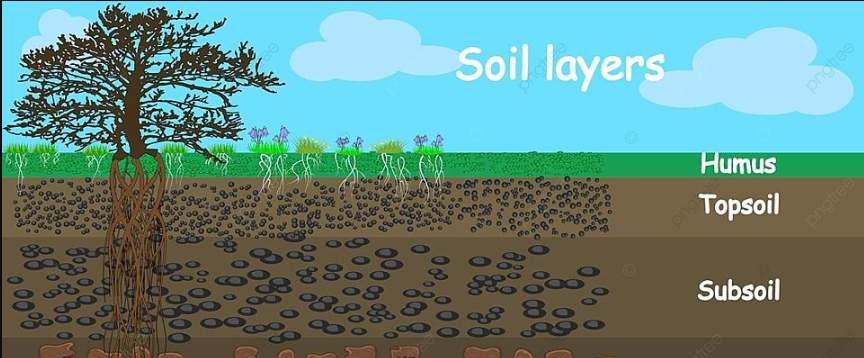
Compost builds the soil into root-thriving paradise. Habitat gardening, where you leave the soil layers intact, benefits from the use of compost even more than traditional gardening. A layer of compost ensures the soil is alive with beneficial insects, bacteria, and fungi, all working together to provide your native plant roots with what they need.

Some native plants that you grow may prefer soil that is found normally in your area and not the deeply “fluffy” soil that is often the goal of traditional gardening. You don’t need a large layer of compost for these plants, just enough to simulate organic matter that naturally accumulates on the soil surface.

Becoming a native plant gardener lets you see the importance of starting your own compost operation. You can check the many resources for composting if you are new to it. I have a simple small bucket collector in my kitchen and a simple cube bin in my back yard that produces the vast majority of what I need all year. I have added some links to get you started below in the Resources section.

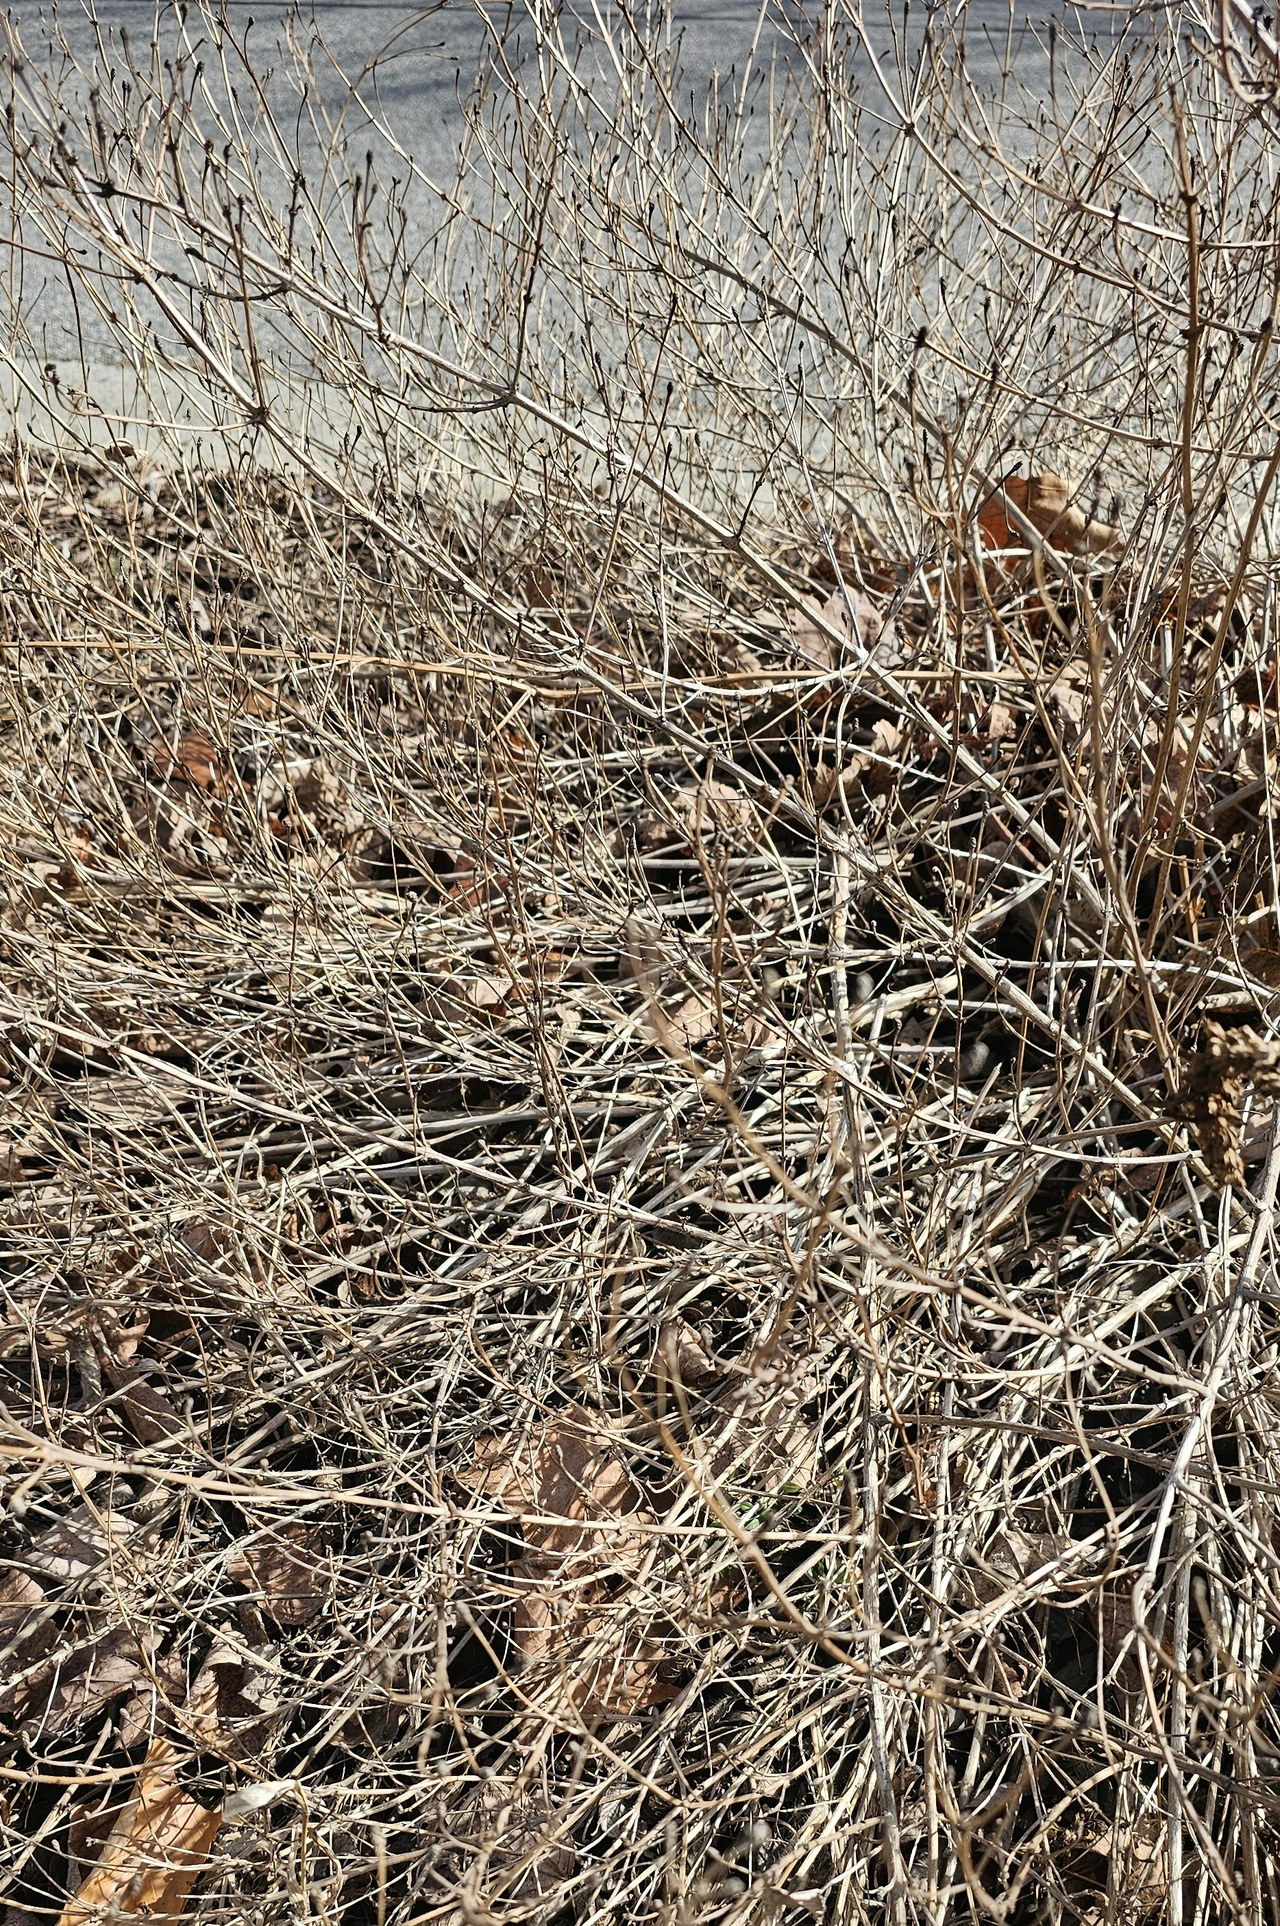
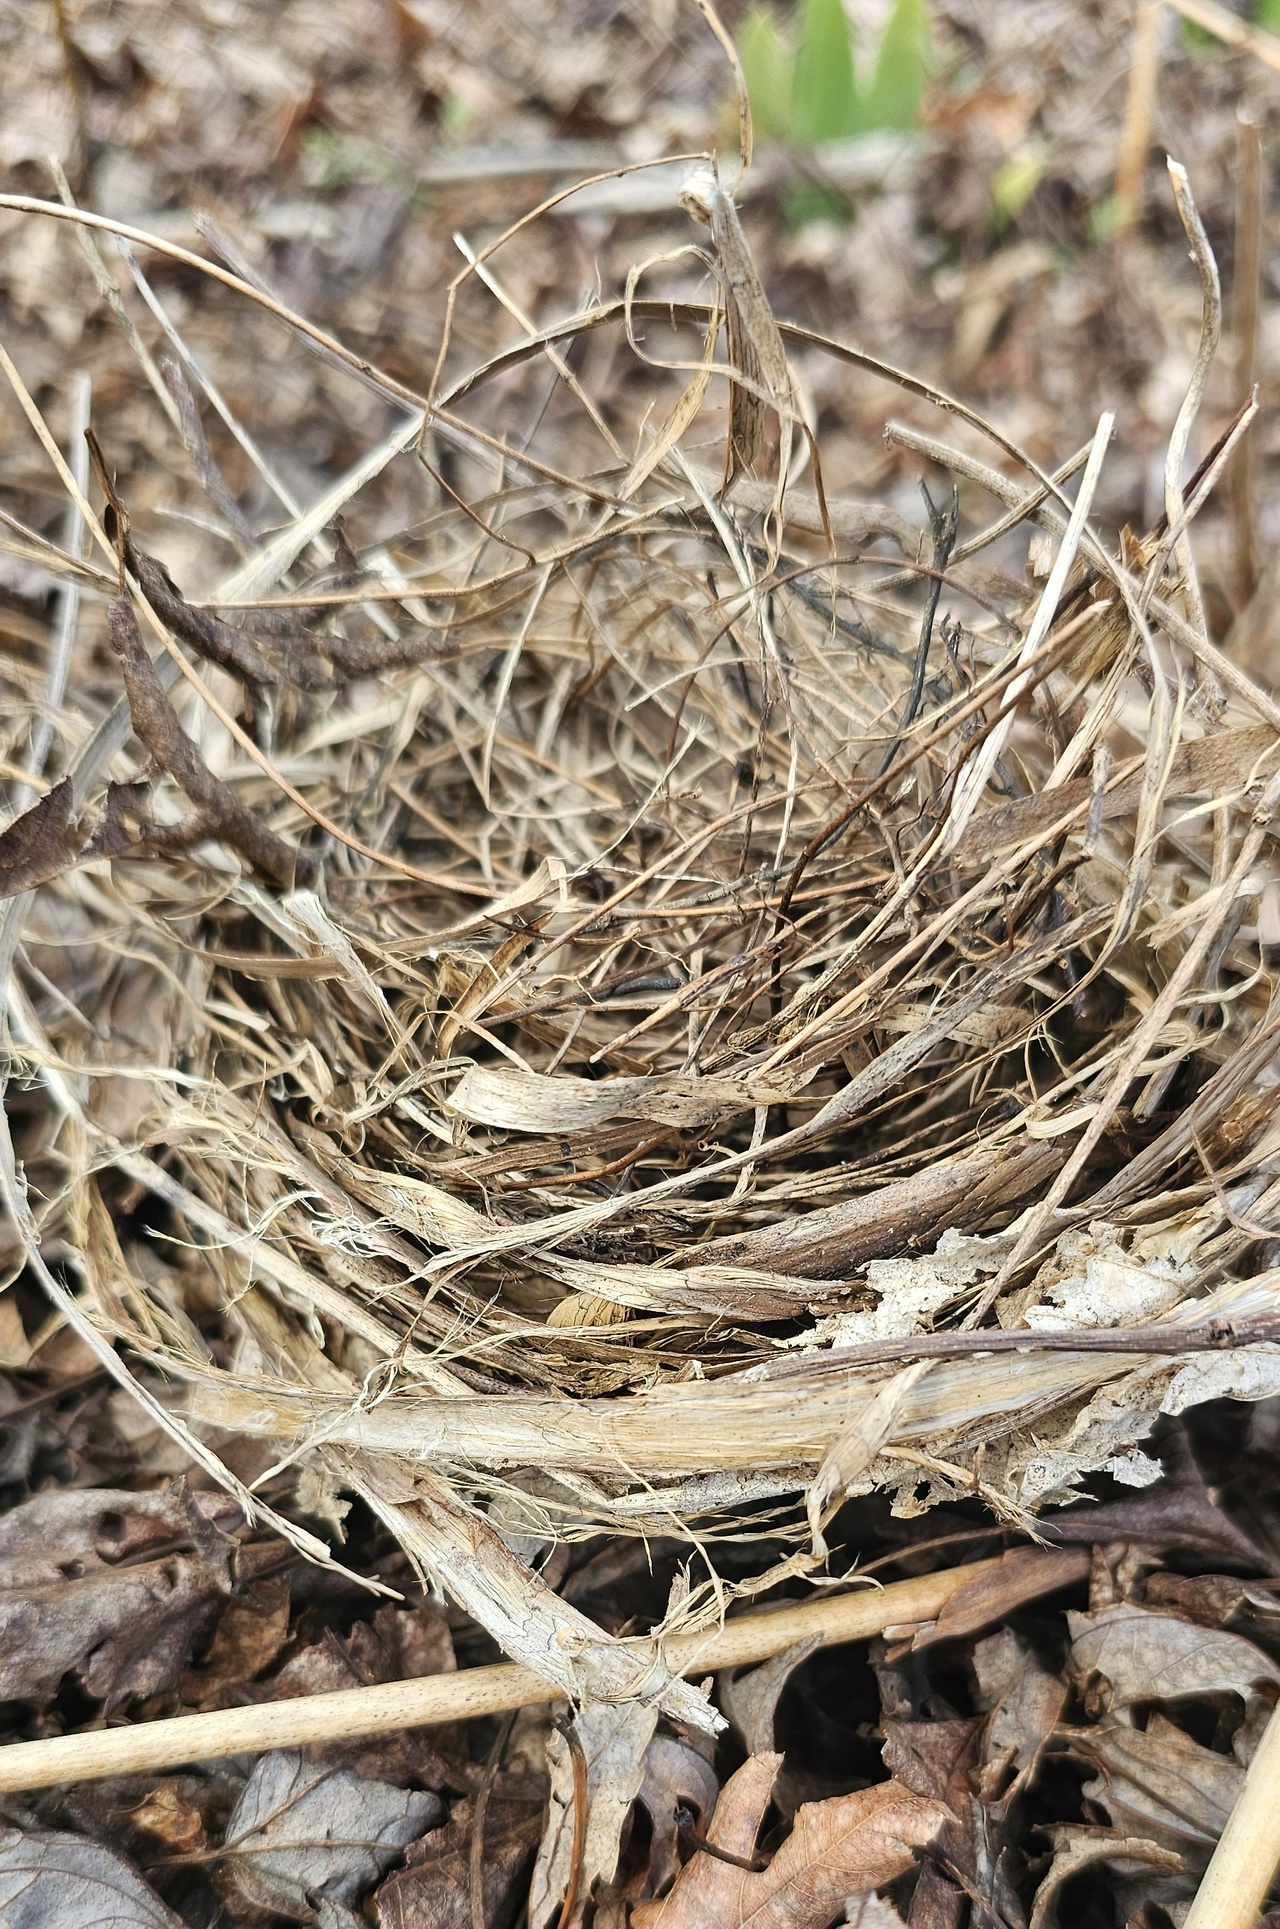
Mulching for natives is not the same as traditional gardening. A good layer of mulch helps retain precious soil moisture, suppresses weeds that compete for nutrients, and moderates soil temperatures as days grow hotter. This is all good.

But in native gardens, we need to think about ground-dwelling bees who cannot reach the soil under traditional mulch. We need to think about how modern mulches with long-lasting color have dyes that cause the mulch to form a dense, hard layer that beneficial insects cannot penetrate.

Instead, create your own mulch from leaves, even small natural debris available locally. You can even include the compost you are making.

More about composting in the Resources section below.


Resources

How Far Apart Should I Plant Native Plants?

An excellent spacing reference for beginners. It walks through how mature plant size, growth habit, and planting density influence plant health, weed pressure, and long‑term maintenance, helping gardeners avoid overcrowding or overly sparse beds.

Guide for Beginning Native Plant Gardeners

A thorough introduction to native gardening fundamentals from Grow Native!. This guide explains how native plants grow and spread over time, why proper spacing matters, and how different design styles – from formal borders to naturalistic plantings – affect layout decisions.

Caring for Your Native Seedlings

From the Wild Seed Project, a practical, easy‑to‑read guide covering the critical early stages of seedling care. Topics include watering, crowding, repotting, and understanding the slower first‑year growth common to many native perennials.

Compost and the Native Plant Garden

This guide from The Wild Ones explores how compost fits into native plant gardening, including when it helps and when nature does the work on its own.

The Beginner’s Guide to Composting

A simple, no‑jargon overview that emphasizes composting as a natural, low‑stress process from Compost Magazine.

Compost 101: How to Start Composting for Beginners

From Epic Gardening,_ a clear, science‑based introduction that explains what compost is, why piles fail, and how compost improves garden soil.


#HabitatGardening #BiodiversityGardening #Gardening #NativePlants #Nature #Environment #Conservation #Biodiversity #Invertebrates #SolarPunk #WildflowerWednesday

I’m Joe Wynne, a gardener since 1965 when I started as a helper for my grandmother. We maintained irises then and I still have those plants today. I’m a former Tennessee State Park Naturalist, who now focuses on making my garden a habitat for native plants and native bees, birds and butterflies. It’s working! I share what I learn.

Follow me on Mastodon. See articles from others in my magazine on Flipboard: Habitat Gardening

© Joe Wynne 2025-2026

This Time: Prepare soil for native plants; Protect wildflowers that bloom early


How about some good gardening news? How about guidance that tells you to do a lot less than you expect to do? Well, I have some, but it's going to force you to break with some traditional gardening techniques, so you may feel a little uncomfortable at first.

If you've followed the process to this point you have purchased seeds or live plants and started the germinating and growing process in small pots or trays. Now, you're ready to get out there and prepare the soil for planting! For traditional gardening, that means cutting into the garden bed soil to loosen it, adding special amendments, and smoothing out the surface.

But I have good news for you: You don't have to do that for native plants! And if you do, you might be making the situation worse.

Let Go of Traditional Gardening Habits, Embrace Soil Communities

Native plants evolved to live in conjunction with certain neighbors. The plants, fungi, bacteria, insects, earthworms and more all existed in an interdependent community. The community was sustainable, resilient.

What’s more, soil has layers where different organisms live out their lives.  Soil organisms take natural materials such as dried leaves and minerals and recycle them into nutrients used by the plants.

When you disrupt these communities, by digging through them or dousing them with pesticides, you interfere with processes that support thriving native plants and that could make your life easier.

Alt text:  Section of typical soil layers near the surface, humus at the top, with topsoil underneath, and subsoil below that. Native plant roots are adapted to grow in natural layers in soil. Mimicking nature provides them with better moisture and nutrition. Prairie-type garden soils are different from woodland-type garden soils, but they both have layers that should be preserved. Source: Humus Definition Social Studies at John Macdonald blog.

When your Habitat Garden supports soil communities, the soil communities take care of your native plants. Less digging means less fertilizing and less watering. How does that sound?

So, there are a few specific things you don’t need to do anymore to prepare soil for native plants:

  • Don't “fix” your soil with amendments before planting.
  • Don't use herbicides, fungicides, or pesticides.
  • Don’t seal soil under layers of fabric and mulch.

Here's how you do prepare soil for native plants.

Clear Gently, Not Chemically

If weeds have overgrown the area set aside for your native plants, use physical methods like hand‑pulling, cutting plants at the base, or smothering areas with cardboard. This approach preserves soil life and lets healthy communities develop and mature.

Apply Organic Matter on Top

Compost and natural local plant debris are still useful! Sprinkle them on the surface to simulate the natural process of dead and decaying matter falling onto the soil. The soil community will take it from there. Native plants are adapted to soils that are leaner than traditional amendment-rich garden beds.

Leave Organic Cover—But Not Everywhere

Leaf litter, fallen stems, and plant debris provide shelter for overwintering insects and help protect soil structure. But don't forget the ground‑nesting bees. They need access to bare earth. Leave cover in place but avoid blanketing entire beds. Mulch lightly around new plants and let some topsoil stay open.

That's not too much, is it? You'll have more time to focus on the bird calls and butterfly swoops.


Seasonal Continuous Improvement: Early Spring

Protect early bloomers!

Early spring flowers – both planted and naturally occurring – are a lifeline. Native bees often emerge before most garden plants bloom, and these first flowers can mean the difference between surviving and struggling.

What to do (and not do)

  • Let early wildflowers bloom undisturbed. Resist the urge to pull all “weeds”.
  • Leave as many as possible to provide nectar, but not to annoy neighbors. If an area is visible to neighbors who may consider it unsightly, consider maintaining that area per traditional expectations while leaving a “hidden” area undisturbed for pollinators.
  • Skip garden “tidying” that removes flowers before pollinators arrive.

While you are out enjoying Nature, pay attention to which plants attract the very first bees and insects. Plan to protect these early bloomers that play an important role in your Habitat Garden.

In spring, timing matters. What blooms first is often critical to the success of beneficial insects before the majority of other native plants start to bloom. Let them do their job.

In my garden, this area of wild violets has created a thick carpet of green leaves. It did not take long for a couple of plants to spread. Not only is this native wildflower food for early pollinators, it also creates a groundcover that is hard for weeds to penetrate. I do not disturb the soil as much, leaving the soil community can thrive. It’s cool under the leaves. I often find frogs hiding out there in the hot afternoons.


Resources

🪲 Soil Life

This guide from the Xerces Society builds your knowledge about soil invertebrates. You can actually see soil invertebrates, unlike bacteria, so they can help you gauge the health of your habitat soil communities.

🪱 Soil Health

This guide from the USDA's Natural Resource Conservation Service has even more tips to create healthier soil.

🐦 For a Wildlife-Friendly Garden, Test Soil First

If you are starting your habitat garden from scratch, you have an opportunity to get information about your soil that will simplify your planning and reduce future problems.

🦋 For Pollinators' Sakes, Don’t Spring into Garden Cleanup Too Soon!

More detail on do's and don'ts for spring garden activities in a habitat garden. It’s especially good with helping you determine when it’s OK to

🐛 Habitat Planning for Beneficial Insects

Download this PDF for a more comprehensive guide to developing a better habitat.


#HabitatGardening #BiodiversityGardening #Gardening #NativePlants #Nature #Environment #Conservation #Biodiversity #Invertebrates #SolarPunk #SolarPunkSunday #Thrutopia

I’m Joe Wynne, a gardener since 1965 when I started as a helper for my grandmother. We maintained irises then and I still have those plants today. I’m a former Tennessee State Park Naturalist, who now focuses on making my garden a habitat for native plants and native bees, birds and butterflies. It’s working! I share what I learn.

Follow me on Mastodon. See articles from others in my magazine on Flipboard: Habitat Gardening

© Joe Wynne 2025-2026

This time: Make nesting easier for your birds; Improve your home habitat for birds.


If you are a garden hero, creating habitat to support populations of native birds, you not only get to enjoy the good feeling that comes from supporting nature, but you get to enjoy more bird song in spring.

Remember that many people and businesses clear out leaves and debris in the fall. This robs birds of nesting material! You can help fill the gap by making available prime resources and even help birds with nests away from your location. More nests mean more chicks.

To fill the gap, put out a variety of materials that most birds can use to build nests.

Break up twigs. Bird populations will need plenty of small twigs to make their nests. Make them available! Break up longer twigs until they are shorter than about 6 inches/15 cm. Create two or three small piles in different locations convenient to birds.

Set out long slender plant leaves. Some birds use old leaves for nests, especially if they are the slender kind. I have long leaves of irises and daylilies that I keep over the winter and then cut into smaller sections. I’ve seen these in nests in trees in my yard.

Make short strands of string and yarn available. While you're at it, cut sections of natural fibers to less than 6 inches for additional building materials. If you have fabric laying around, that can be cut into small pieces and be useful as well.

Leave moss where it grows. Some birds use moss to fashion their nests.

Leave spider webs alone. Your first reaction might be to knock down any spider web you see. Especially during the nest-building season, leave as many spider webs up as you can. Hummingbirds can use spider webs to pad their nests.

Make mud available. There are birds that use mud to add strength to their nests. If you don't know of a source of mud nearby, clear off an appropriate spot if you have one.

Don’t delay too long. When birds are ready to nest, they need the materials right then. I once left my garage door open most of the day in the spring while I was gardening. By the time I returned, a couple of Carolina Wrens had a nest 2/3 complete in the garage using a pile of twigs I had placed nearby.

Find more ideas in the Resources section below.

By the way, keep helping birds thrive through late winter. It is important to maintain their food. Birds need extra energy to survive the last of cold weather and the new activity of building nests. If feeding stops, they might find it difficult to survive.

The lantana here has died back for the winter with only its slender branches remaining. My neighbors would typically cut back something like this and clear all the debris away. I cut all the twigs and broke them up into smaller nest-building size sections. It only took a few minutes. Notice that I left the leaves on the ground to house bugs for the birds to eat.

This top part of a nest that fell to the ground in my yard shows the variety of types of materials used. Visible are twigs, pine needles, dead slender leaves (daylilies from my yard), small tree leaves. These are exactly the kinds of debris people remove for the sake of “fall clean up” or “garden tidying”. What’s a bird to do without your help?


Seasonal Continuous Improvement: Winter/Offseason

As you continue designing your habitat garden, consider ways you can make additional improvements for birds.

What do your local birds use to build nests? During the winter, you can examine last year's nests to see what your local birds prefer for nesting materials.

Are you using pesticides where birds feed? Most birds feed primarily on bugs. If you kill bugs, then the birds don't have enough food. When birds spend a summer eating bugs with poisons in their bodies, it sickens or kills them. If possible, plan to dispose of these chemicals and replace them with more sustainable practices.

Do you have good location for a brush pile? Put larger branches on bottom and smaller at the top. Birds will feed and nest here.

Find more ideas in the Resources section below.


Resources

🐦 Create a Bird-Friendly Habitat

  • This guide includes eleven ways to create a bird habitat.

🐦 How to Provide Nesting Materials for Birds

  • Tips include good ways to contain materials, like yarn and string.

🐦 16 Ways to Help Birds Survive Harsh Winters

  • More information on the types of food that is most helpful in keeping birds alive, including the importance of suet and making “the bluebird banquet”.

[18 Feb 2026]


#HabitatGardening #BiodiversityGardening #Gardening #NativePlants #Nature #Environment #Conservation #Biodiversity #Invertebrates #SolarPunk #SolarPunkSunday #Thrutopia

I’m Joe Wynne, a gardener since 1965 when I started as a helper for my grandmother. We maintained irises then and I still have those plants today. I’m a former Tennessee State Park Naturalist, who now focuses on making my garden a habitat for native plants and native bees, birds and butterflies. I share what I learn.

Follow me on Mastodon. See articles from others in my magazine on Flipboard: Habitat Gardening

© Joe Wynne 2025-2026

This Time: Making sure you know germination requirements of any native plants you plan to buy; Avoiding the danger in bee houses.


There is nothing like the excitement of purchasing seeds of native plants that will bring more birds and butterflies to your space. It will be a more rewarding process if you take care to avoid potential problems.

At this point in the process, you have completed finding a source for the native plants on your “Hot List”, following steps in the previous post. You should be getting excited about the possibility of bringing more birds and pollinators to your garden.

Before you buy, though, consider making one final check.

It is wise to review your chosen plants' germination requirements before making your final purchase. Why? Especially if you're new to gardening or to growing from seed, you need to know if any of your chosen plants have requirements that you will not have the time or energy to follow. Not every seed can be simply dropped into a prepared flower bed.

To make things a little more clear, here are some examples of germination requirements.

Germination Requirement Examples

Easy: Prep Ground and Plant

Most seeds that you are used to (if you are a new gardener) require you to simply prepare the soil, sprinkle on the seeds, and cover. Many native plants have the same requirements.

Somewhat Complex: Minor Prep Prior to Planting Seed

Examples of this type are a one-time hot water treatment or “scarification” (scratching the seed coats with something like sandpaper). Some require you to plant the seeds in the fall, meaning you will have to wait before planting if you are buying seeds in the winter.

More Complicated: Significant Steps Needed Prior to Planting

Some native plant seeds take some commitment to get going. For example, they may require you to simulate a winter prior to planting. You put seeds in your refrigerator for months after wrapping them up in moist paper.

The most involved I've ever had to deal with is wrapping seeds in a wet paper towel and keeping them in a plastic ziplock bag in the fridge for 60 days. I used a calendar reminder to make sure I took out the seeds and planted them at the right time. Otherwise, they would have stayed under my pack of tortillas and been forgotten.

These steps were not too difficult for me to handle, just new to me. You have to make your own decision on what is too much for you.

No matter what the instructions are for preparing seeds prior to planting, your seed provider should give you all the details you need.

An example of instructions from Prairie Moon on germination types, including “cold stratification”, appears in the Resources section below.

If you are prepared for any germination requirement and are ready to purchase the seeds on your Hot List, then order or purchase during the winter or offseason. The earlier the better so that you can have seeds and seedlings ready for planting season!

This is an example of my “cold stratification”. It shows a clear zip lock plastic bag with the handwritten label “Stiff Goldenrod, Packed 3 Feb C(60)”. Inside is a paper towel that is moist so that you can see dark spots underneath that are seeds.


Seasonal Continuous Improvement: Winter/Offseason

🐝The common assumption has been that, to support native bees that live above ground, all you have to do is buy one of those bee or bug houses with the bamboo tubes.

The problem with these houses, at least for bees, is that diseases and mite infestations can occur unless you regularly replace the tubes. I did not want to buy a new bee house every year, and that caused me to look for other options. I found that you can buy the tubes separately, and in quantity, for less than the price of a bee house. They come in many forms: bamboo, cardboard, reeds and more. This made it easier for me to change out used tubes inexpensively, just as insect scientists recommend.

Speaking of insect scientists, more information from the Xerces Society about creating and maintaining nests for native bees appears in the Resources section below.


Resources

🌺Prairie Moon Nursery: How to Germinate Native Seeds

  • This is an example of the different categories of seed preparation steps. There are a lot more than you would guess. Still, if you only purchase a few packs of seeds, there should not be anything more complicated than you can handle.
  • Check the guidance for those plants you potentially will purchase to see if you are comfortable with the germination steps.
  • This guide also lets you look up a list of native plants that require each germination requirement. This could be a useful reference if you need to look this type of list quickly.

🐝 Nests for Native Bees Fact Sheet (pdf)

  • Explains details you need to know to be successful at supporting cavity-nesting native bees which are about 30% of all native bees in North America.

🐝 Tunnel Nests for Native Bees (pdf)

  • Plenty of information on what kind of tubes to get and how to make sure they are clean for native bees.
  • Also includes how you can support native bees without buying any tubes.

🐝 5 Ways to Increase Nesting Habitat for Native Bees | Xerces Society

  • A variety of ways to help native bees in North America.

[28 Jan 2026]


#HabitatGardening #BiodiversityGardening #Gardening #NativePlants #Nature #Environment #Conservation #Biodiversity #Invertebrates #SolarPunk #SolarPunkSunday #Thrutopia

I’m Joe Wynne, a gardener since 1965 when I started as a helper for my grandmother. We maintained irises then and I still have those plants today. I’m a former Tennessee State Park Naturalist, who now focuses on making my garden a habitat for native plants and native bees, birds and butterflies. I share what I learn.

Follow me on Mastodon. See articles from others in my magazine on Flipboard: Habitat Gardening

© Joe Wynne 2025-2026

This Time: How to support the butterflies that are in your garden now; Planning to support beneficial insects and birds in the Fall


What if your garden was an important part of a conservation effort? Would you feel like a hero?

The good news is that you can get involved in such an effort without much difficulty. Butterfly conservation needs as many habitat locations as possible and gardens could be a huge source of habitats.

How do we know what the problem is? The Xerces Society, which does research in this area, recently published their report State of the Butterflies in the United States. Here are a couple of highlights:

🦋 More than one-fifth of our butterflies disappeared between 2000 and 2020.

🦋 Over 40% of assessed species fell in numbers by 50% or more—and two dozen species suffered more than 90% losses.

OK, there is a serious need for action, but what can be done? According to the report:

🦋 “Butterfly habitat should be woven into all parts of our landscapes—farmland, utility corridors, solar arrays, bike paths, roadsides, natural areas, and backyard and community gardens—to provide homes for common and wide-ranging butterflies as well as rare and at-risk species.”

🦋 “To recover butterflies, we must combine efforts across towns and cities, working lands, and natural areas as well as in the linkages and stepping stones which provide connecting pathways.”

Notice the listing of “backyard and community gardens”? That could be you!

Here's a way for you to start as part of the conservation effort right away. Use a version of the organizer below. You may also need a reference (app or printed) to help you identify any butterfly you don't know. It should also include basics about their life cycle.

The goal is to support the butterflies that are already in your area. It helps you list the butterflies you see and then build the support they need in your garden. I use an example of the Tiger Swallowtails I see in my garden. I used this to make sure they had what they needed to increase their population. Below the organizer are more details of what I did to support the swallowtail populations.


Butterfly seen: Tiger Swallowtail

Caterpillars feed on (from references): Tuliptree, cherries, plum, others

Adults prefer to feed on (from references):

  • Phlox (Phlox spp.)
  • Ironweed (Vernonia spp.)
  • Joe-Pye Weed (Eutrochium purpureum)
  • Milkweed (Asclepias spp.)

In my garden they also liked these existing flowers * Zinnias * Mexican Sunflower

Water needs: Water “puddle”. More on providing water

Other needs and preferences: Resting places


I saw a Tiger Swallowtail on a flower in my garden. That triggered my research. Once I learned what the caterpillars feed on, I looked to see if those trees were around. I did find a Tuliptree in the woods near my house. The caterpillars were taken care of on that tree, so to make sure there was a continuous population, I needed to make sure the adult butterflies had what they needed. There were precious few gardens with flowers in this area. A few minutes of research revealed a list of flowers they liked.

My next steps were to plant the flowers from that list, starting gradually. Also made sure that there was shallow water available for them to get a drink and minerals. Now, every summer, more adults will survive to mate and lay eggs in the Tuliptree. The population will be sustained and possibly grow. All because I adjusted what I planted in my garden.

You can do the same! It allows you to build on what butterflies you already have to increase the population. Oh, and you get to enjoy all the butterflies.


See below for more tips and resources.


Continuous Improvement Seasonal Tips: Late Summer Early Fall

Many birds need seeds and berries in the fall. Bees and Butterflies need late-blooming flowers, too. Check your garden for these resources. Do you need more? If yes, make a note to remedy this next season by growing plants, shrubs, and/or trees to supply this need.

  • Providing berries might seem like it would be difficult. But maybe not. In my area in the Southeastern U.S., I upgraded a native plant bed with a free young Beautyberry shrub that was growing wild nearby. I used seedlings from that one to expand to more.
  • Pollinators need flowers through late summer and fall. Typically garden flowers are fizzling out by late summer. Do you have flowers that arrive in late summer and fall? In my area, these would include asters, and Goldenrod, even Passionvines (Maypops).

Recommended Resource

Pollinator-Friendly Native Plant Lists | Xerces Society Go here to find the plants you need to support butterflies, native bees, and more (in the U.S.). This page will help you find the best plants for where you live.


#HabitatGardening #BiodiversityGardening #Gardening #NativePlants #Nature #Environment #Conservation #Biodiversity #Invertebrates #SolarPunk

I’m Joe Wynne, a gardener since 1965 when I started as a helper for my grandmother. We maintained irises then and I still have those plants today. I’m a former Tennessee State Park Naturalist, who now focuses on making my garden a habitat for native plants and native bees, birds and butterflies. It’s working! I share what I learn.

Follow me on Mastodon. See articles from others in my magazine on Flipboard: Habitat Gardening

© Joe Wynne 2025-2026

With populations of birds, bees, butterflies and other invertebrates plummeting in the U.S., it's time for gardeners to come to the rescue!

Skeptical that gardeners can be heroes? Recent studies have proven that small increases in habitat, such as that provided in your garden, will really help.

So join the habitat rescue squad!

First, you have to understand a new way to think about gardening design and goals. It may be much different than you're used to or even expecting.

It's useful to think about three levels of gardening when it comes to helping wildlife and habitat in general.

Level 1: Traditional Gardening

Traditional Gardening in the U.S. typically means large lawn with one or two flower beds containing plants purchased at a major retailer. Pesticides are used to kill bugs and at the end of the growing season, the flower bed is cleaned out. All fallen leaves from any shrub, tree or plant are all removed.

This method basically makes a property a killing field for pollinators.

Level 2: Native Plants Supplementation

Some gardeners have graduated to the next level, Native Plant Supplementation. They have purchased and planted native flowering plants. They may have stopped using pesticides to create a better environment for the pollinators. They may have put out hummingbird feeders are other bird feeders.

This is somewhat better situation as it allows pollinators like butterflies and native bees to have access to more flower nectar and pollen. But it does not greatly support populations of insects because most caterpillars will likely not find anything to eat there. Native bees may not find nesting sites to raise their young.

A Bumble Bee, covered in pollen, on a Black-eyed Susan flower central mound.

Level 3: Habitat Gardening

Few gardeners, however, have elevated their design to a third level and created a Biodiverse Garden Habitat. To do that, you have to think about the needs of populations of different types of creatures, including their life stages.

It’s not as complicated as it sounds. Something common to do for this level is to commit an area of lawn for a meadow. Another option is to create an area with a combination of native trees, shrubs or flowers that are known to host many different species.

This blog focuses on the practical aspects of starting and succeeding in habitat gardening. Each post will provide a main topic, seasonal tips and finally one or more resources that will help you be a Habitat Hero.

Join in!


#HabitatGardening #BiodiversityGardening #Gardening #NativePlants #Nature #Environment #Conservation #Biodiversity #Invertebrates #SolarPunk #SolarPunkSunday #Thrutopia

I’m Joe Wynne, a gardener since 1965 when I started as a helper for my grandmother. We maintained irises then and I still have those plants today. I’m a former Tennessee State Park Naturalist, who now focuses on making my garden a habitat for native plants and native bees, birds and butterflies. It’s working! I share what I learn.

Follow me on Mastodon. See articles from others in my magazine on Flipboard: Habitat Gardening

© Joe Wynne 2025-2026